Creating an Organization Profile Guide
Are you a member organization of Spire Connect? Great! Here's your guide to creating a profile in the community.
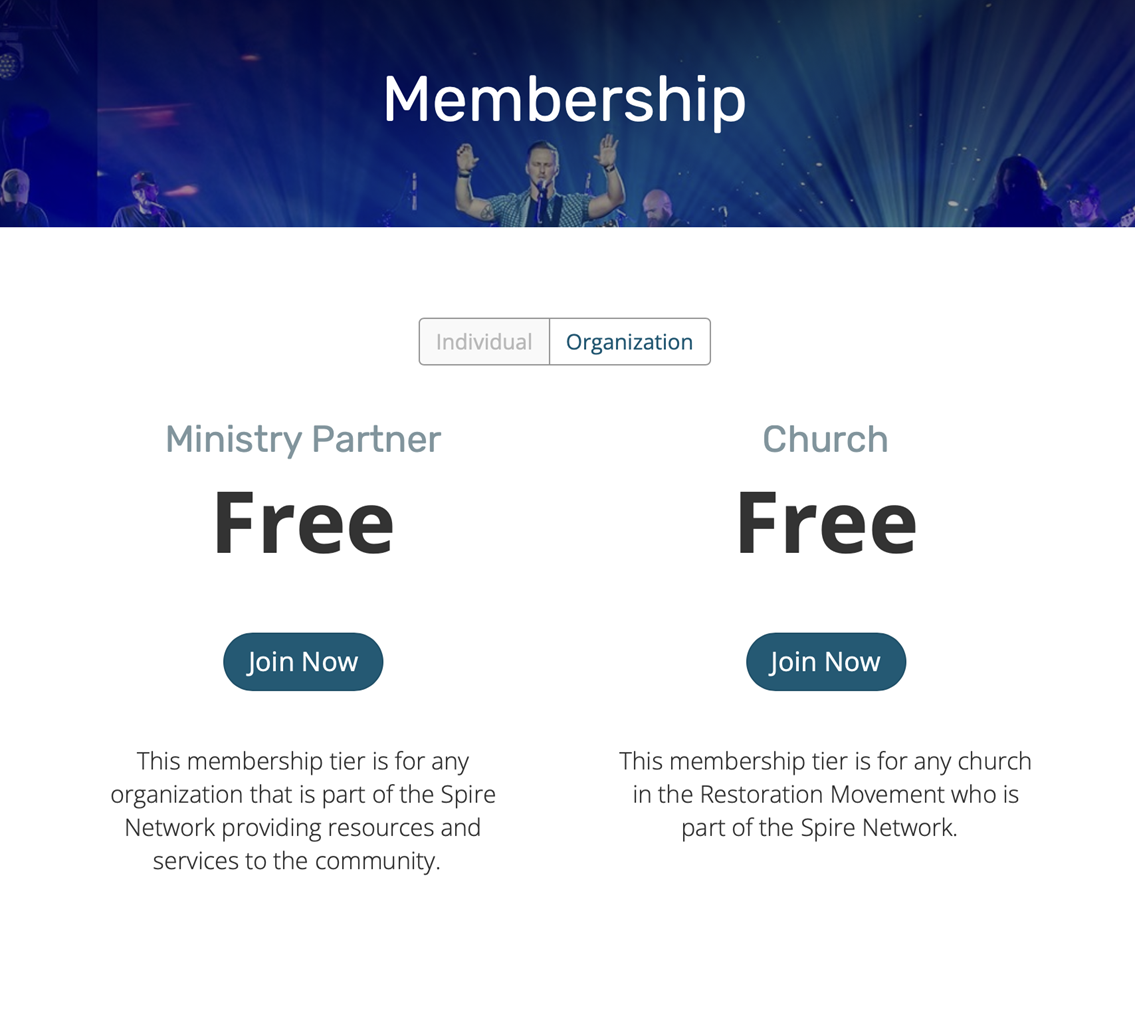
Step 1: Choose Membership
Start by choosing your membership tier - click button below.
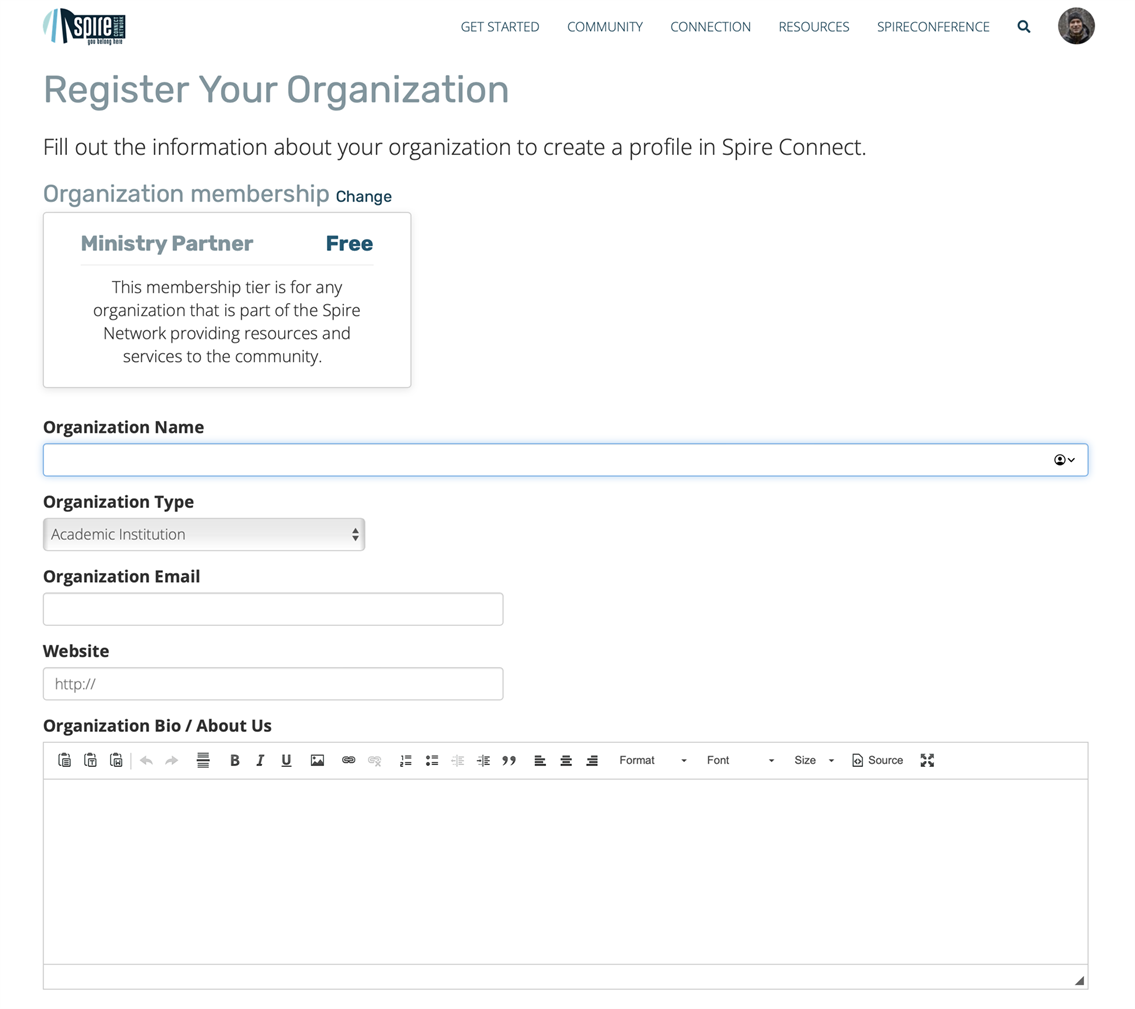
Step 2: Complete Profile
Complete your organization profile. You will enter the following information:
- Organization Name
- Organization Type
- Organization Email - general email
- Website URL
- Organization Bio / About Us
- Logo
- Address
- Tags
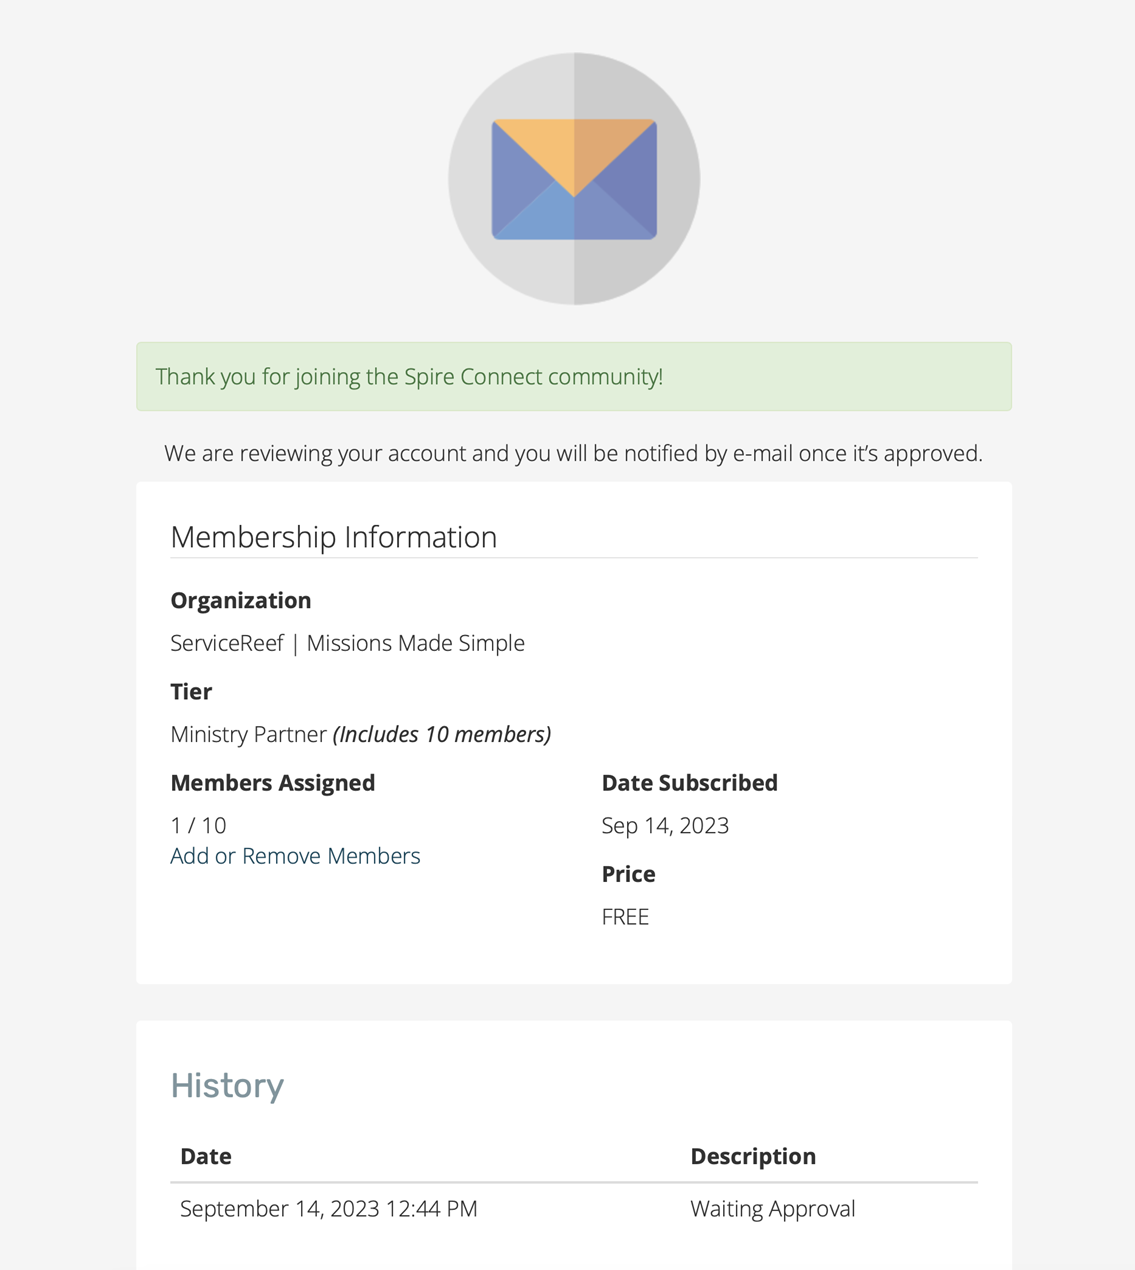
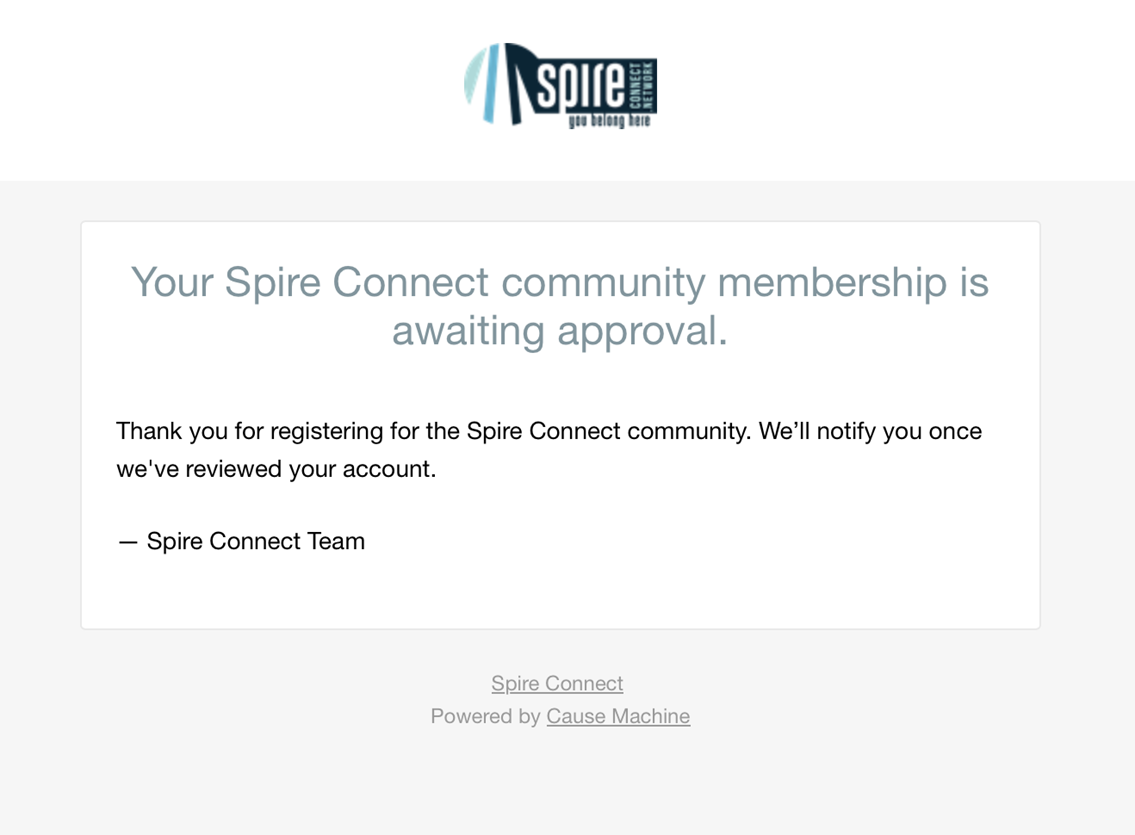
Step 3: Confirmation
Once you complete your registration and agree to the terms and conditions, your application will be submitted for review by the Spire Connect team. You will be notified once this is approved.
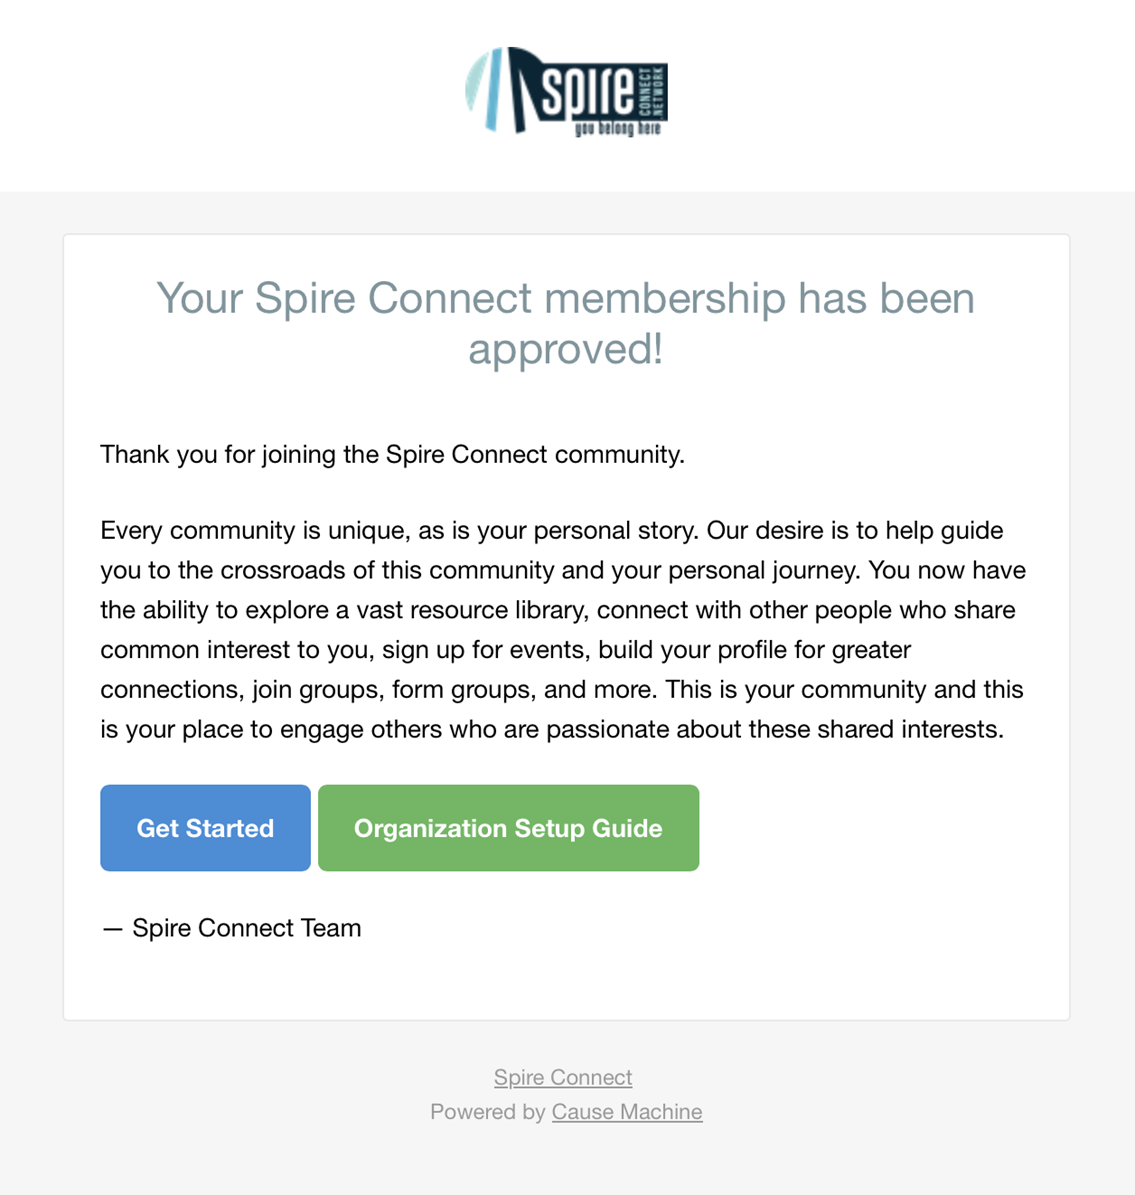
Maximize Your Organization Profile
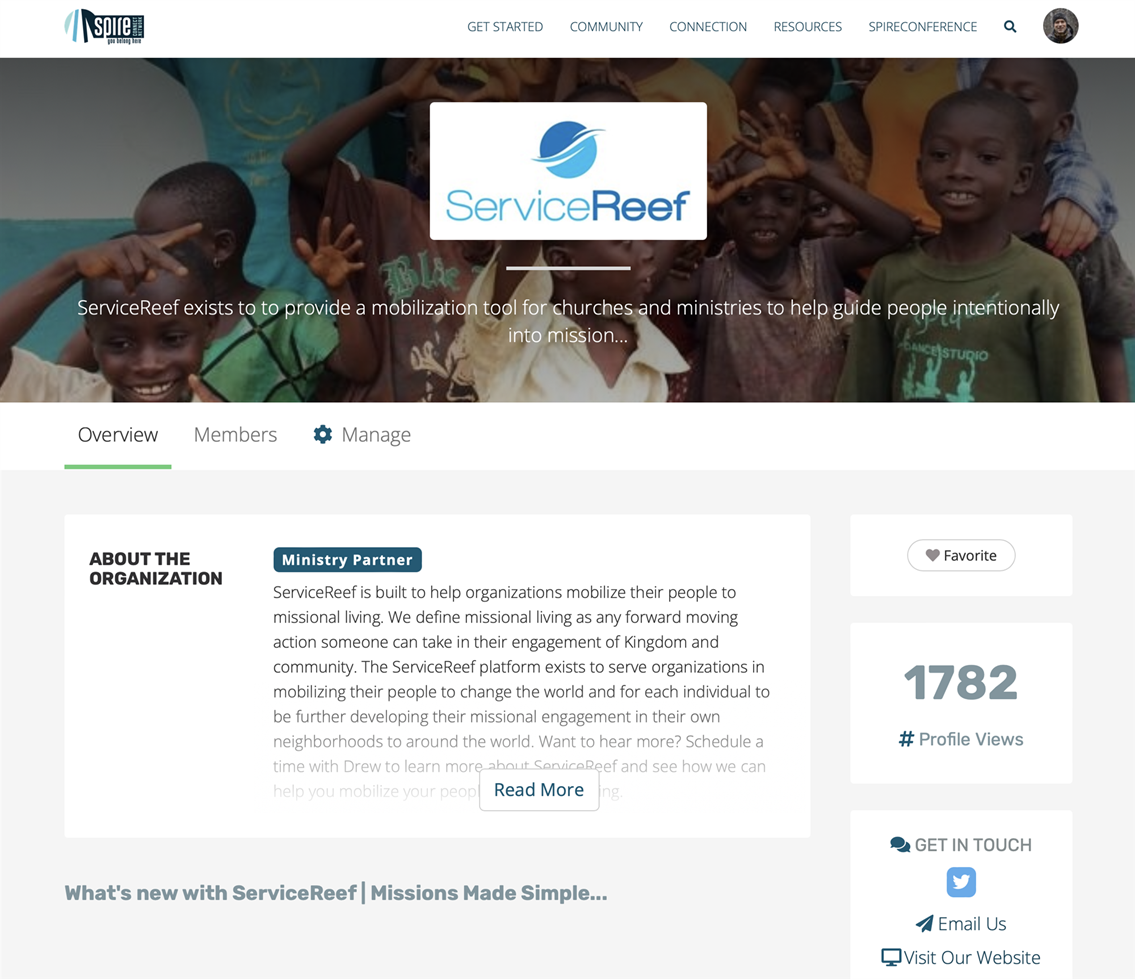
Review Public Profile
Once approved, take a look at your public profile and jump in to make your profile look great. Here are some things you should do:
- Add your logo
- Add a cover photo
- Add a solid organization description
- Add your website and social links
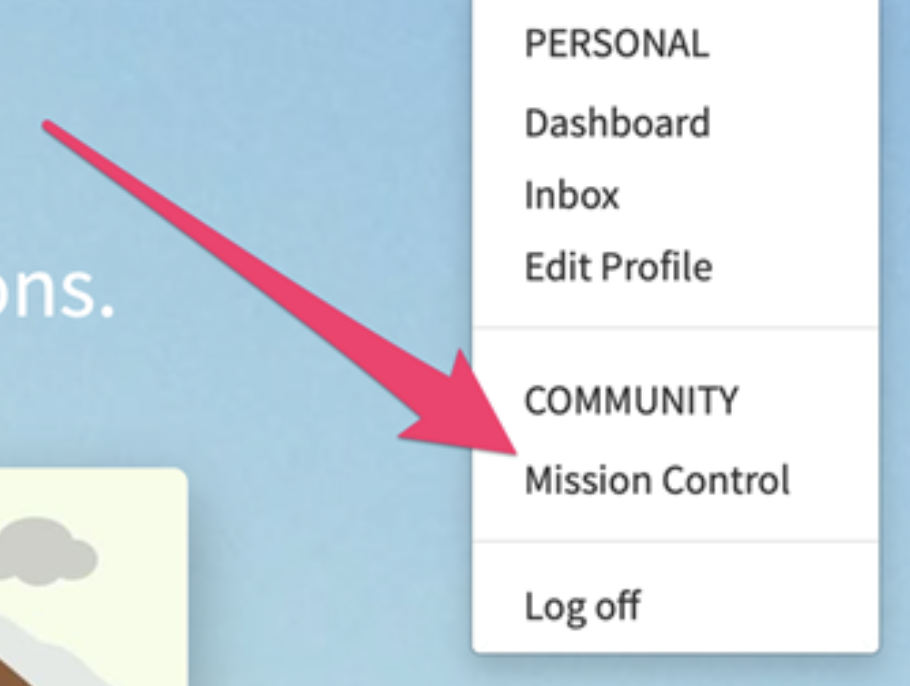
Click the "Manage" link to access the backend profile tools.
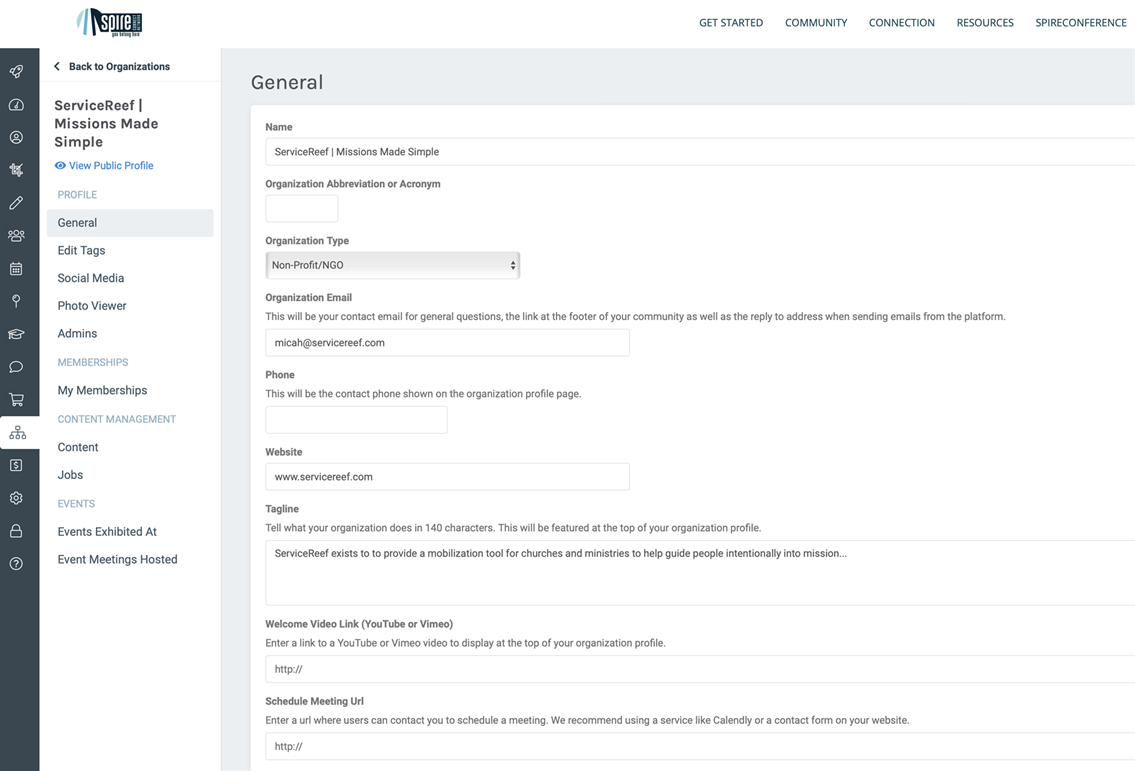
Explore Profile Fields to Edit
You are in the driver's seat of your organization profile. This single profile will be what populates data for the Spire Connect online directory of organizations AND your profile for any Spire events.
- General Info - your basic profile
- Tags - areas of your focus and involvement
- Social Media Links - how people can find you and learn more
- Photo Viewer - casting vision through visuals
- Admins - add others to manage your org profile
- Content - submit content for review
- Jobs - post job opportunities
- Event History - see exhibition history and leads
Accessing Event Leads
Step 1: Display Booth Signs
Each exhibiting organization will be given an 8.5" x 11" sign for their booth presenting a large QR code for attendees to scan (see image). Attendees can scan this image with their phone's camera or manually type in the given URL (see image).
These signs will display your organization's name and logo along with the notation of the event.

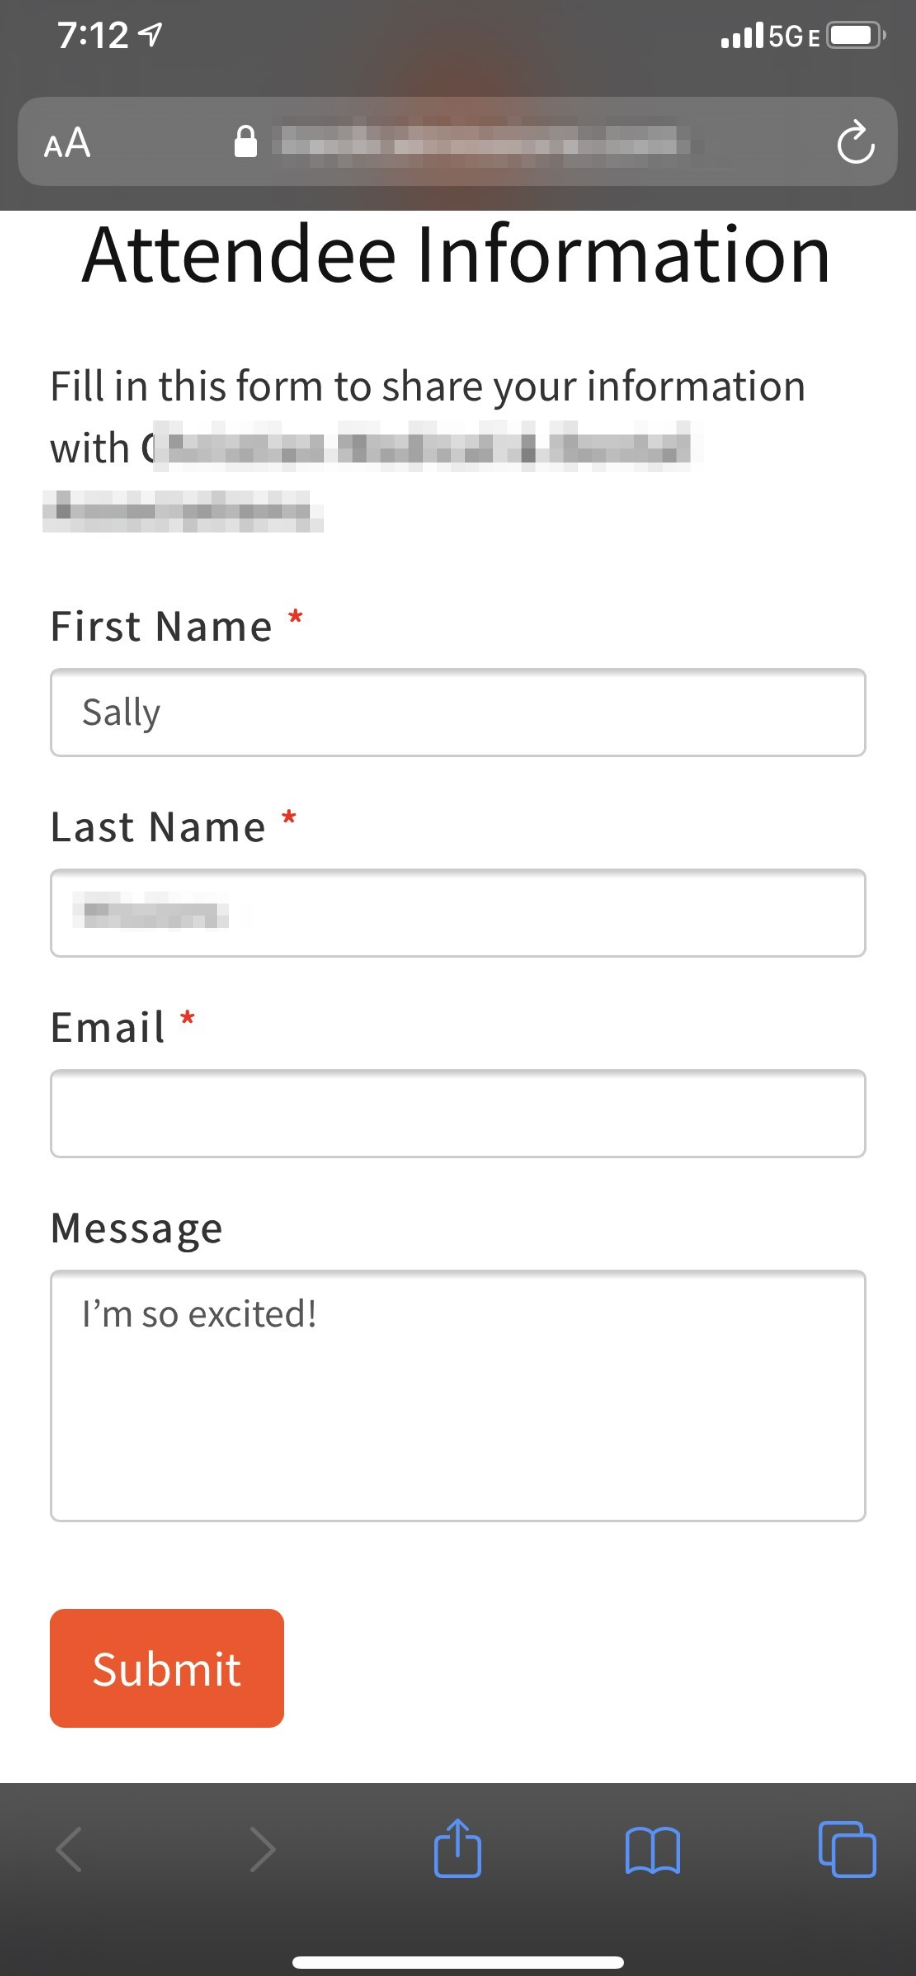
Step 2: Collect Attendee Data
When the attendee scans the QR code for the organization a window will open in their phone's browser window. If the attendee is logged into their Spire Connect account, the page will pre-fill with their name and email. If they are not logged in, they can quickly type in this information.
TIP: You may want to help guide the attendees in the process of completing the form and making sure they click submit so it processes.
Step 3: Accessing Data
Data on connected attendees will be immediately available once scanned and always available through your organization's profile.
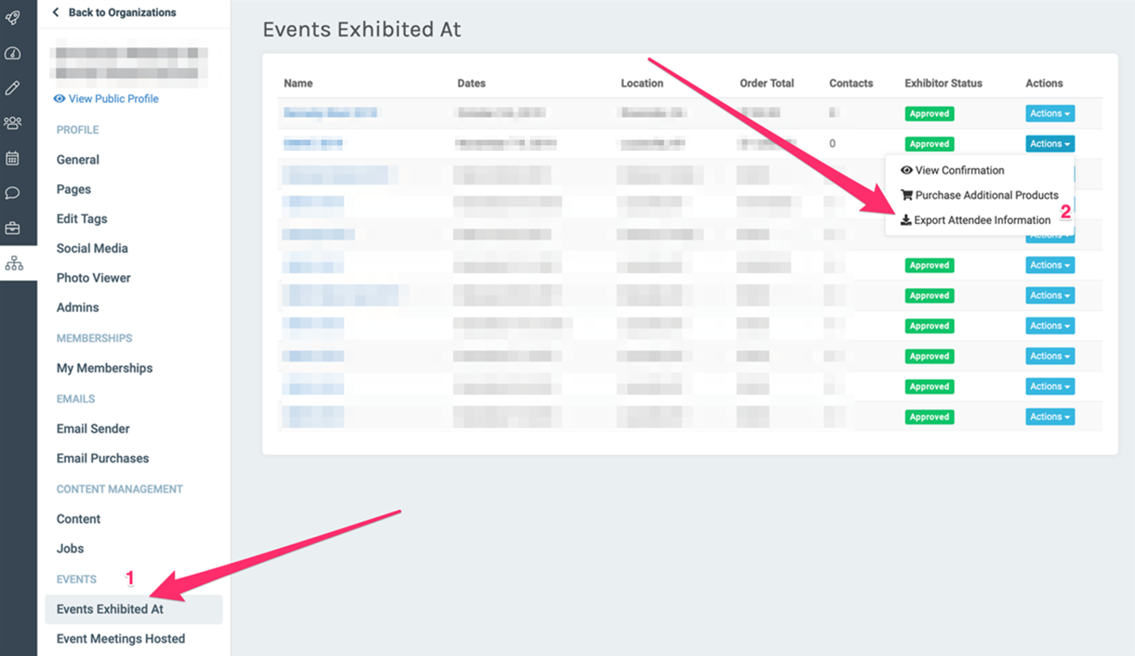
Click on Organizations on the left navigation to access your organization (some may have multiple - if so, find the organization exhibiting at this event).
Look to the left to find "Events Attended At" and select.
Click the Actions drop down menu to download your attendee information collected through the lead retrieval system.